
- 12 Oct 2026
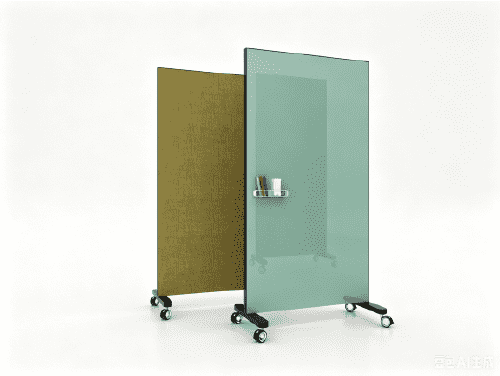
Mobile glass whiteboard for hybrid work: make the room visible to everyone
Practical guide for choosing and setting up a mobile glass whiteboard in hybrid work environments
A mobile glass whiteboard can give people in the office a place to sketch, plan and explain an idea. For hybrid work, it also needs a reliable way to share that writing with people outside the room. Choose the board, camera position and meeting process together. A clear surface on wheels does not provide digital collaboration by itself.
Consider a planning meeting where someone draws a workflow on the board. People at the table follow each arrow; a remote colleague sees the presenter’s shoulder and a patch of reflected light. Buying a larger board might leave the same problem unresolved. The useful question is whether everyone can read the content and influence what goes on it.
This guide explains where a mobile board fits, how to check a room before buying, and when a shared digital canvas is the better starting point. The checks below are practical purchasing recommendations, not test results for a particular product.
Where a mobile glass whiteboard fits in hybrid work
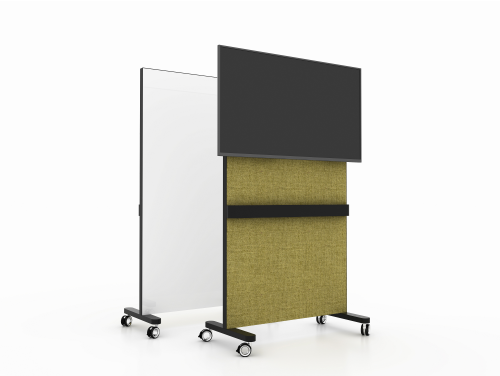
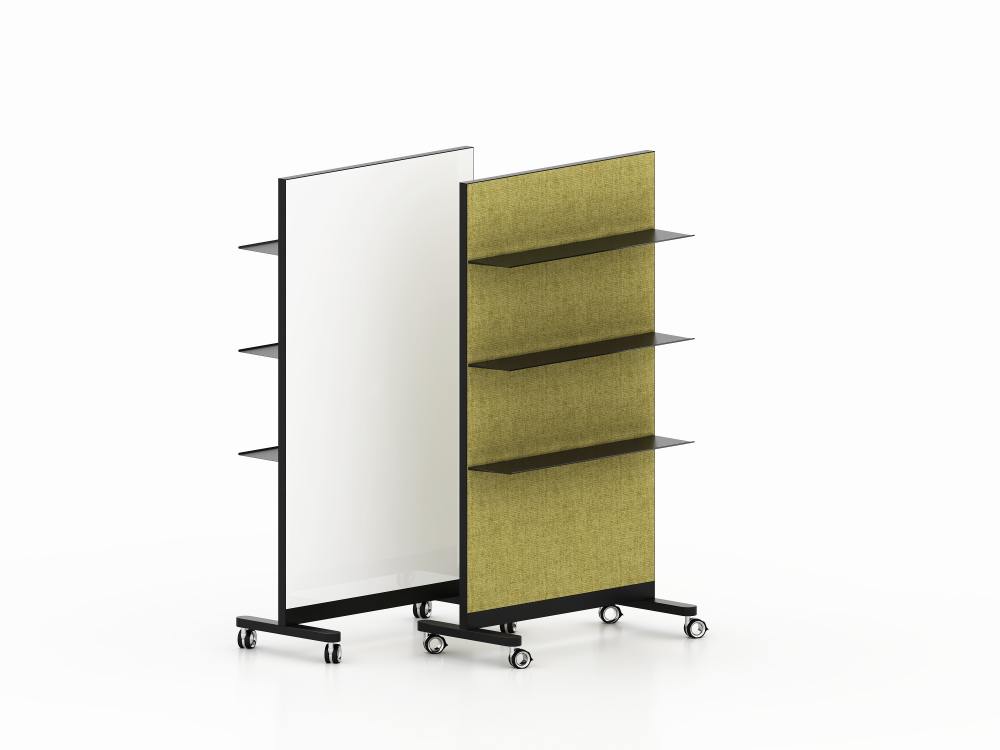
A physical board suits conversations that involve someone standing up to draw: a project handover, a design discussion or a workshop with people moving between groups. A mobile model lets the team choose a position rather than accept the location of an existing wall board.
That flexibility has a limit. Once the board is framed by a camera, moving it changes the setup. Treat mobility as a way to prepare the room, not as a reason to keep rolling the board around during a call.
For a remote-heavy session where participants need to move notes and edit diagrams themselves, start with a shared digital canvas. Microsoft’s Teams Rooms instructions distinguish between sharing a physical board through a content camera and using Microsoft Whiteboard through a room touch display.[23] These are different workflows, even though both are called whiteboarding.
Meeting need | Suggested starting point |
In-room sketching with remote discussion | Physical board plus a checked camera feed and facilitator |
Everyone editing the same diagram | Shared digital canvas |
Short explanation during a hybrid call | Camera-framed board, with someone monitoring remote visibility |
Several breakout groups | Physical boards for local work, followed by shared digital notes |
Check the remote view before choosing the board size
The person beside the board is not the best judge of video legibility. Ask a colleague to join from another device and read a sample diagram through the actual meeting platform.
Use ordinary meeting content: headings, arrows and a few short notes. Test the full area you expect people to write on, including the corners. If only the middle is readable, define a smaller writing area or change the camera setup.
Microsoft’s content-camera guidance states that board size affects camera placement and recommends centering the camera on the board. It also links placement to camera resolution and field of view.[22] Its guidance describes a specific Teams Rooms setup; it does not certify every glass board or supply a universal size rule for every meeting room.
Choose a writing area that fits both the room and the capture system. A board that looks generous in a showroom may require a different camera position in a narrow room. Measure the base footprint, doorway clearance and storage location too. The glass panel’s dimensions are only part of the space requirement.
Treat glare and camera compatibility as separate checks
Before approving a sample, place it under the lights used during normal meetings. View it from the seats and through the remote feed. Look for reflections that cover the writing, not just reflections visible on an empty board.
Try another board position, adjust blinds where appropriate, and check the camera view again. Mobility gives you options, but it cannot guarantee a glare-free result.
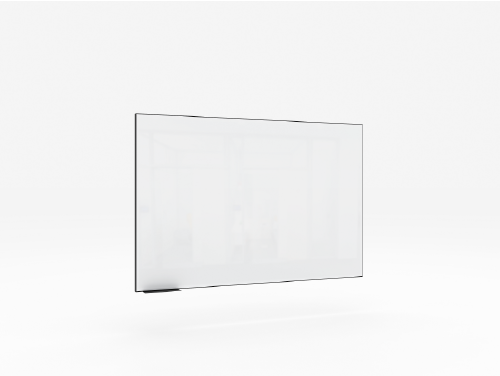
Some suppliers offer a separate matte glass option for projection and glare reduction. But a surface finish can also change the writing and cleaning experience. Ask to evaluate the actual finish you intend to buy rather than accepting a demonstration of another model.
Choose the mobile base as carefully as the surface
A good demonstration should include writing on the board after positioning it and engaging the specified brakes. Watch for base movement, excessive panel motion and loose connections. These observations help screen a sample; they are not a formal anti-tip test.
Ask the supplier for:
· Overall dimensions and assembled weight, including the base.
· Castor configuration, brake operation and movement instructions.
· Assembly requirements and inspection points for fasteners.
· Test reports that identify the model and configuration evaluated, if available.
· Replacement-part availability and warranty terms for moving components.
Formal stability, structural and glass safety testing belongs with competent testing personnel. Do not try to prove safety by pushing a glass board until it falls. A report for the glass material alone does not establish the stability of the complete mobile assembly.
If you need a magnetic model, check the intended accessories as well. Magnatag describes a steel-backed construction for its magnetic glass boards and specifies high-strength neodymium magnets.[1] That illustrates why the glass, backing and magnet must be evaluated as a combination. It is not a specification for every supplier’s product.
Run a short rehearsal before the first hybrid workshop
Use this sequence as an internal room check:
1. Put the board in its intended position and engage the brakes according to the supplier’s instructions.
2. Start a call using the room’s normal camera and lighting.
3. Write a sample diagram within the intended capture area.
4. Ask a remote participant to read the labels and identify each connection.
5. Have the presenter stand where they normally would and check for blocked content.
6. Agree how remote suggestions will reach the person writing.
7. Save a legible copy and record decisions before erasing the board.
Keep the camera view, lighting conditions and feedback with the room setup notes. If the board or camera position changes, repeat the visibility check. This rehearsal evaluates the meeting arrangement, not the product’s lifetime durability or standards compliance.
Keep the decisions after the board is erased
At the end of a discussion, transfer the agreed actions into the team’s shared document or task system. Include owners and due dates where the team has agreed them. A photo can preserve a diagram, but people should not have to decode handwriting to discover what they are responsible for.
Before moving the board into a shared area, check for confidential information. Apply the organization’s rules to photos, recordings and saved notes as well.
Questions buyers often ask
Can a mobile glass whiteboard replace a digital whiteboard?
It can support physical sketching and discussion, but it does not give remote participants direct editing access. Use a digital canvas when shared editing is central to the session; use a physical board when the activity benefits from in-room drawing and you have a workable sharing process.
Is a matte board always the best choice?
No single finish should be selected without checking the room and camera. Compare the actual samples for reflected light, writing clarity and cleaning. A matte option advertised for projection does not automatically establish compatibility with a particular content-camera system.
What should we send a supplier before requesting a quote?
Send the room layout, available floor space, intended writing area, camera arrangement and whether magnetic accessories are needed. Request the complete product dimensions, assembly guidance, available test evidence and the warranty terms. Ask which claims apply to the proposed model.
Choose a board around the meeting, not the other way around
A mobile glass whiteboard is worth considering when a team needs physical writing space that can be positioned for different sessions. For hybrid work, the purchase decision should include the remote view and the participation process, not just panel size and appearance.
Before requesting a quote, prepare a room sketch and describe how the board will be shared. Review the proposed mobile model’s dimensions and configuration, then evaluate a sample in the intended setup. If remote colleagues cannot read the content or contribute to it, change the setup or use a shared digital canvas before buying more hardware.
Sources
[22] https://learn.microsoft.com/en-us/MicrosoftTeams/rooms/content-camera
[23] https://support.microsoft.com/en-us/teams/calls-devices/microsoft-teams-rooms-windows